

5 Causes of Flash in Injection Molding and How to Fix Them
Flash adds trimming cost, causes assembly fit problems and can damage the parting line. This article covers the 5 most common causes of flash in injection molding and a troubleshooting order from cheapest to most expensive.
Flash is a thin layer of excess plastic that escapes the part outline, usually along the parting line, around ejector pins, inserts or vents. Flash is not only a cosmetic issue. It adds trimming labor, causes assembly fit problems, and if left unchecked it will damage the parting line itself. Here are the 5 most common causes of flash we see in injection molding, plus a troubleshooting order from cheapest to most expensive.
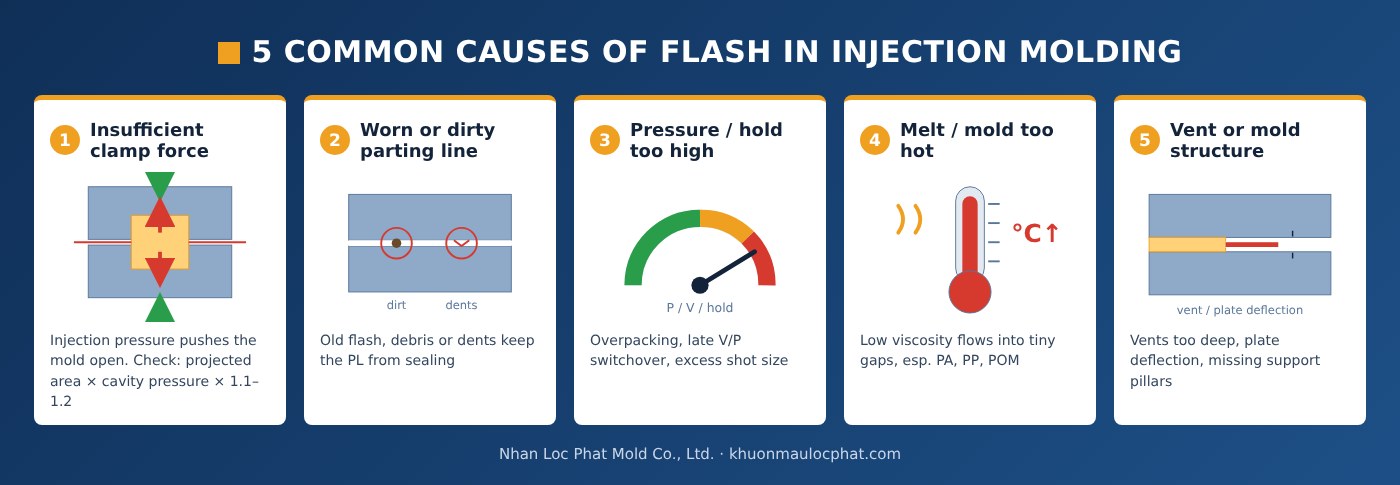
1. Insufficient clamp force
When cavity pressure generates more force than the machine's clamp, the mold halves separate by a tiny gap and plastic flows into it. Flash from low clamp force usually appears all around the parting line, worse at the end of fill.
- Recalculate required tonnage: Clamp force (t) = Projected area (cm²) × Cavity pressure (kgf/cm²) ÷ 1,000 × safety factor 1.1–1.2. Include the runner and all cavities in the projected area.
- Typical cavity pressure is around 250–400 kgf/cm² for general parts, higher for thin-wall parts or long flow lengths.
- If tonnage is adequate, check platen parallelism and the toggle mechanism.
2. Worn, dirty or damaged parting line
A piece of old flash, a pellet or dust on the parting line is enough to stop the mold from sealing. After long production runs, PL edges also wear or get dented when the mold closes on a stuck part. A tell-tale sign is flash at one fixed location, repeating every shot.
- Clean the PL and vents every shift. Never scrape with hard metal tools.
- Use bluing compound to check PL contact during mold maintenance.
- Worn or dented PL edges must be welded and re-ground. Raising clamp force to compensate only damages the mold faster.
3. Injection or hold pressure too high (overpacking)
This is the most common cause when the mold and machine are in good condition. Operators often raise pressure to fix short shots or sink marks, and end up overpacking the part.
- Check the V/P switchover point. Switching too late means the cavity is already full while the machine is still pushing at injection pressure. Switch at around 95–98% fill.
- Reduce hold pressure and hold time step by step, 5–10% at a time, while monitoring dimensions and shrinkage.
- Check shot size and cushion. A cushion of about 3–10 mm is healthy. A cushion bottoming out to zero means the shot is not consistent.
4. Melt or mold temperature too high
The hotter the melt, the lower its viscosity and the easier it flows into tiny gaps. Low-viscosity resins such as PA, PP, POM and PBT are very flash-prone and can flash through gaps of around 0.02 mm.
- Bring barrel temperatures back to the resin datasheet range and verify the thermocouples.
- Check the mold temperature controller. An overheated mold also expands unevenly.
- Watch residence time: a machine that is too large for the part keeps the melt in the barrel too long and lowers viscosity.
5. Vents and mold structure
These causes sit in mold design and manufacturing. Process adjustments alone will not fix them.
- Vents too deep: each resin has its own vent depth, for example around 0.01–0.015 mm for PA and POM, 0.015–0.02 mm for PP and PE, and 0.02–0.04 mm for ABS and PS. Deeper vents turn into flash.
- Plate deflection: large molds without enough support pillars bend in the middle under injection pressure, opening a gap.
- Fit clearances: clearances around ejector pins, inserts and slides that are out of tolerance or worn after long production.
Troubleshooting order: cheapest first
When flash appears, do not rush to repair the mold. Work through this order to save time and money:
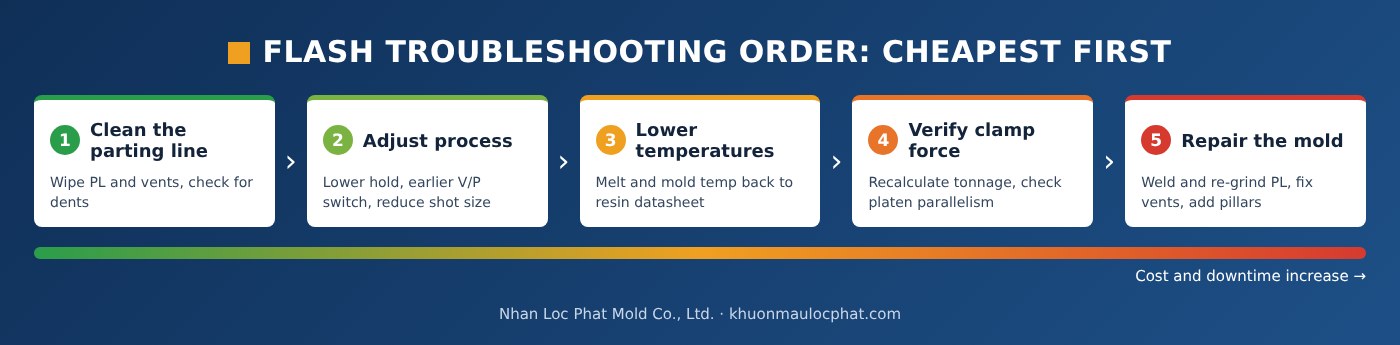
- Clean the parting line and vents.
- Adjust the process: lower hold pressure, switch V/P earlier, reduce shot size.
- Bring melt and mold temperatures back to the recommended range.
- Verify clamp force and that the machine suits the mold.
- Only then repair the mold: weld and re-grind the PL, fix vents, add support pillars.
Nhan Loc Phat fixes flash at the root
Nhan Loc Phat Mold Co., Ltd. offers a full service from product design, mold design and toolmaking to production molding. That lets us fix flash on both the tooling side and the process side. If your parts are flashing, send us photos or samples and our engineers will identify the cause and propose the right mold repair or process optimization.